Switching a site from HTTP to HTTPS
We love HTTPS and with its Security, Speed, SEO and Accessibility you should upgrade now!
Having helped customers through this process many times we have learnt a thing or two about how to make the process go smoothly. So here is our …
4 step HTTPS upgrade guide
1) Get a certificate
You can get an SSL certificate from 100’s of different resellers, we have a hefty spreadsheet to keeps track of the best.
There are many types of SSL certificate from various Certificate Authorities. For basic domain validated certificates we are a big fan of Lets Encrypt.
If you don’t know what certificate you need you can read our other articles (link above) or contact us and we’ll be glad to help.
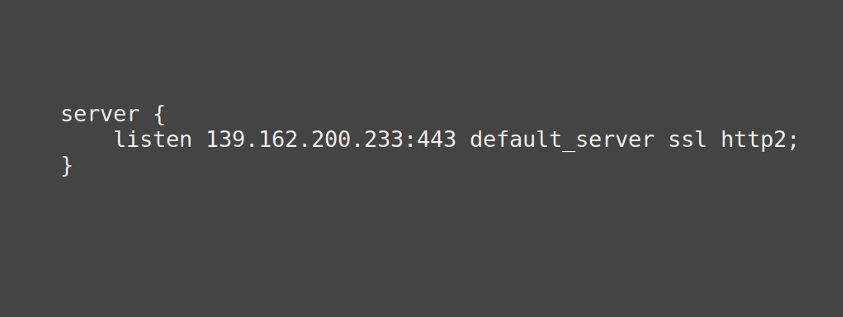
2) Set up your web server to listen to HTTPS
This is an important step I wanted to split out, this doesn’t mean stop using HTTP. Just because you are ready for HTTPS doesn’t mean your site is and jumping over immediately can often cause unforeseen issues.
All good web-servers can listen to multiple ports at once so you can continue running your site over HTTP while you are working on HTTPS. If this process takes more than a day then you will probbaly want to firewall your new site off from the rest of the internet until it’s up and working as you wish.
At this step you can set up all sorts of new cool technologies. If you ever thought HTTPS was slower than HTTP wait until you try HTTP/2.0.
3) Configure the site to use HTTPS
This is when you fix those unforeseen issues I mentioned earlier, people often forget that HTTPS is very strict when it comes to downgrading the connection and will block anything loaded over HTTP. This often ends up with the page missing CSS or Javascript.
Another catch that is often missed is getting your site to generate links as HTTPS. If the site continues to generate HTTP links each visitors click and item load happens twice once to redirect to HTTPS and again to load it over HTTPS, it doubles the traffic and load time of your site.
One common concern with HTTPS is that you lose all referral information when a user clicks from an HTTPS to a HTTP site. There are ways around this, we include the <meta name=”referrer” content=”always”> tag in all of the HTML on our site so we don’t lose this, but you can only do this on sites that you control.
4) Configure your web server to redirect to HTTPS
The last step, set up a permanent redirect to upgrade all of your traffic to browse your site via HTTPS. Permanent redirects differ from other redirects as the redirection is cached as well as having some SEO benefits.
If you are interested in more information or would like help with your migration then please feel free to drop us a message and see how we can help you upgrade.


Leave a Reply
Want to join the discussion?Feel free to contribute!